PrizmDoc v13.0 - Updated
Print Non-standard Size Documents
Printing documents of non-standard paper sizes inside the Viewer can sometimes give you unwanted results such as cropping of pages or some empty spaces at the bottom of the printing area. Let's look at why such problems may occur and the printing workflow you should use inside the Viewer in order to eliminate those issues and achieve the best printing results. Printing a document in the Viewer is a two-step process which differs from a standard printing scenario that you might see in some desktop applications. This section discusses why this two-step process is required.
No matter what format your document is in currently, in order to display it in the browser it has to be converted into SVG format. The caveat of using SVG is that it's scalable and doesn't have a fixed width or height properties embedded into it (for example, like the PNG image). That's why in order to print it correctly we need to apply a specific size before sending it to the printing tool that is part of your browser. Let's look at how this can be done.
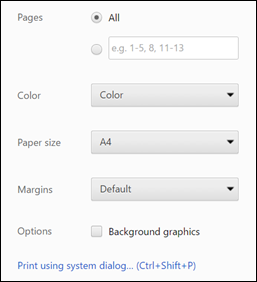
The Print Preview dialog is a part of the browser and will differ depending on what browser you use. The following example uses Google Chrome.
If you want to enhance your printing workflow even further by creating your own custom printing paper size, refer to the Printing custom paper sizes code example.